Run a Bluesky PDS From Home
Posted on December 2, 2024 • 6 minutes • 1068 words
Mastodon is a social media monolith, but Bluesky’s architecture is microservices in the ways I like. While it’s true components of Mastodon are separate, the instance is inseperable from user data. You have to run a Mastodon server if you want to be a user on the network.
That fundamental idea is not the responsibility I want to have with social media. Not only is that more expensive and complex, it’s more legally fraught, and expensive .
Bluesky’s tiered approach to data, scraping, and applications separate the concerns much better for the amount of responsibility I want to have. The Personal Data Server (PDS) is what I need to run to be a user on the network.
The PDS includes my data and my identity. It doesn’t include someone else’s data (cached) and doesn’t get directly connected to by other users in the network.
Here’s a very basic overview
I’ve been running a PDS on a Raspberry Pi 5 at my house for a couple weeks now on an alt account to test the setup. I’ll be migrating my main account once I make sure I understand how to restore the data in case of a catostrophic hardware failure.
This article is based on the video I created. You can follow along with the video or read the steps below.
The video has more details about logs and what containers get run, but the basic steps to get started are here.
Set up your server
I use a Raspberry Pi because that’s what I have available and I like the idea of single purpose appliances. You could just as easily run this from a VM at your house or in a cloud provider.
It doesn’t take very many resources (1 CPU core, 1GB RAM), especially if it’s only a single user.
Setup DNS
You’ll want DNS working before you run the installer. Pick a domain (or subdomain) for your PDS and set up A records to point to your public IP address.
I would suggest using a subdomain like pds.example.com for the domain. Users that are created at the PDS will be user.pds.example.com by default and then you can update their names to other domains or subdomains later .
You’ll need an A record pointed to your IP address and a *. subdomain A record also pointed to your IP address (for the users).
Forward firewall ports
You’ll need to forward ports 80 and 443 to your PDS server or set up a reverse proxy that will forward request for your domain to your PDS server.
If you don’t know how to forward ports on your router to an internal host then you probably shouldn’t host this from home. This is something that’s often very confusing for new people and very commonplace for people who have been doing this for a while.
If you’re not comfortable with opening ports then I would suggest using a VM in a cloud provider and paying for an ipv4 address that won’t change.
Install PDS containers
You need a Debian or Ubuntu based OS to run the installer script. If you know how docker compose works it wouldn’t be hard to manually run the example compose stack .
If you want to run the script which installs docker and sets up a systemd service then you can SSH into the server and run.
curl https://raw.githubusercontent.com/bluesky-social/pds/main/installer.sh | sudo bash
This will install the dependencies, create a /pds folder, start the containers, and create a systemd service called pds.
Set up DDNS
Dynamic DNS is required if you’re running this from home. IP addresses from ISPs change and you don’t want your PDS going offline for a simple IP address renewal.
I use inadyn for my setup because it supports a ton of providers and is free.
It’s as easy as making an API key for my DNS provider, creating a config from their examples, and running the container.
Set up email
I would suggest you set up an SMTP server on the PDS just to verify your accounts.
I have no idea if verification does anything for the network, but at minimum it stops you from having to skip the “verify later” button when you log in.
You can use a variety of services for SMTP. I like to use Gmail with an application password
Edit the /pds/pds.env file and add the following lines.
PDS_EMAIL_SMTP_URL=smtps://$GMAIL_USERNAME:[email protected]:465/
PDS_EMAIL_FROM_ADDRESS=$YOUR_GMAIL_EMAIL
Then restart the containers with
systemctl restart pds
Set up monitoring
There are a bunch of monitoring services out there and you can pick your favorite. I used UptimeRobot because it was easy and they have an app that makes sure I get the alerts.
All I had to do was add https://pds.justingarrison.com/xrpc/_health to the health check and set my alerts.

You can see I don’t even have two 9s of availability in the past week. This is mostly due to a UPS failure while I was gone which took the PDS down for 7 hours.
Set up metrics
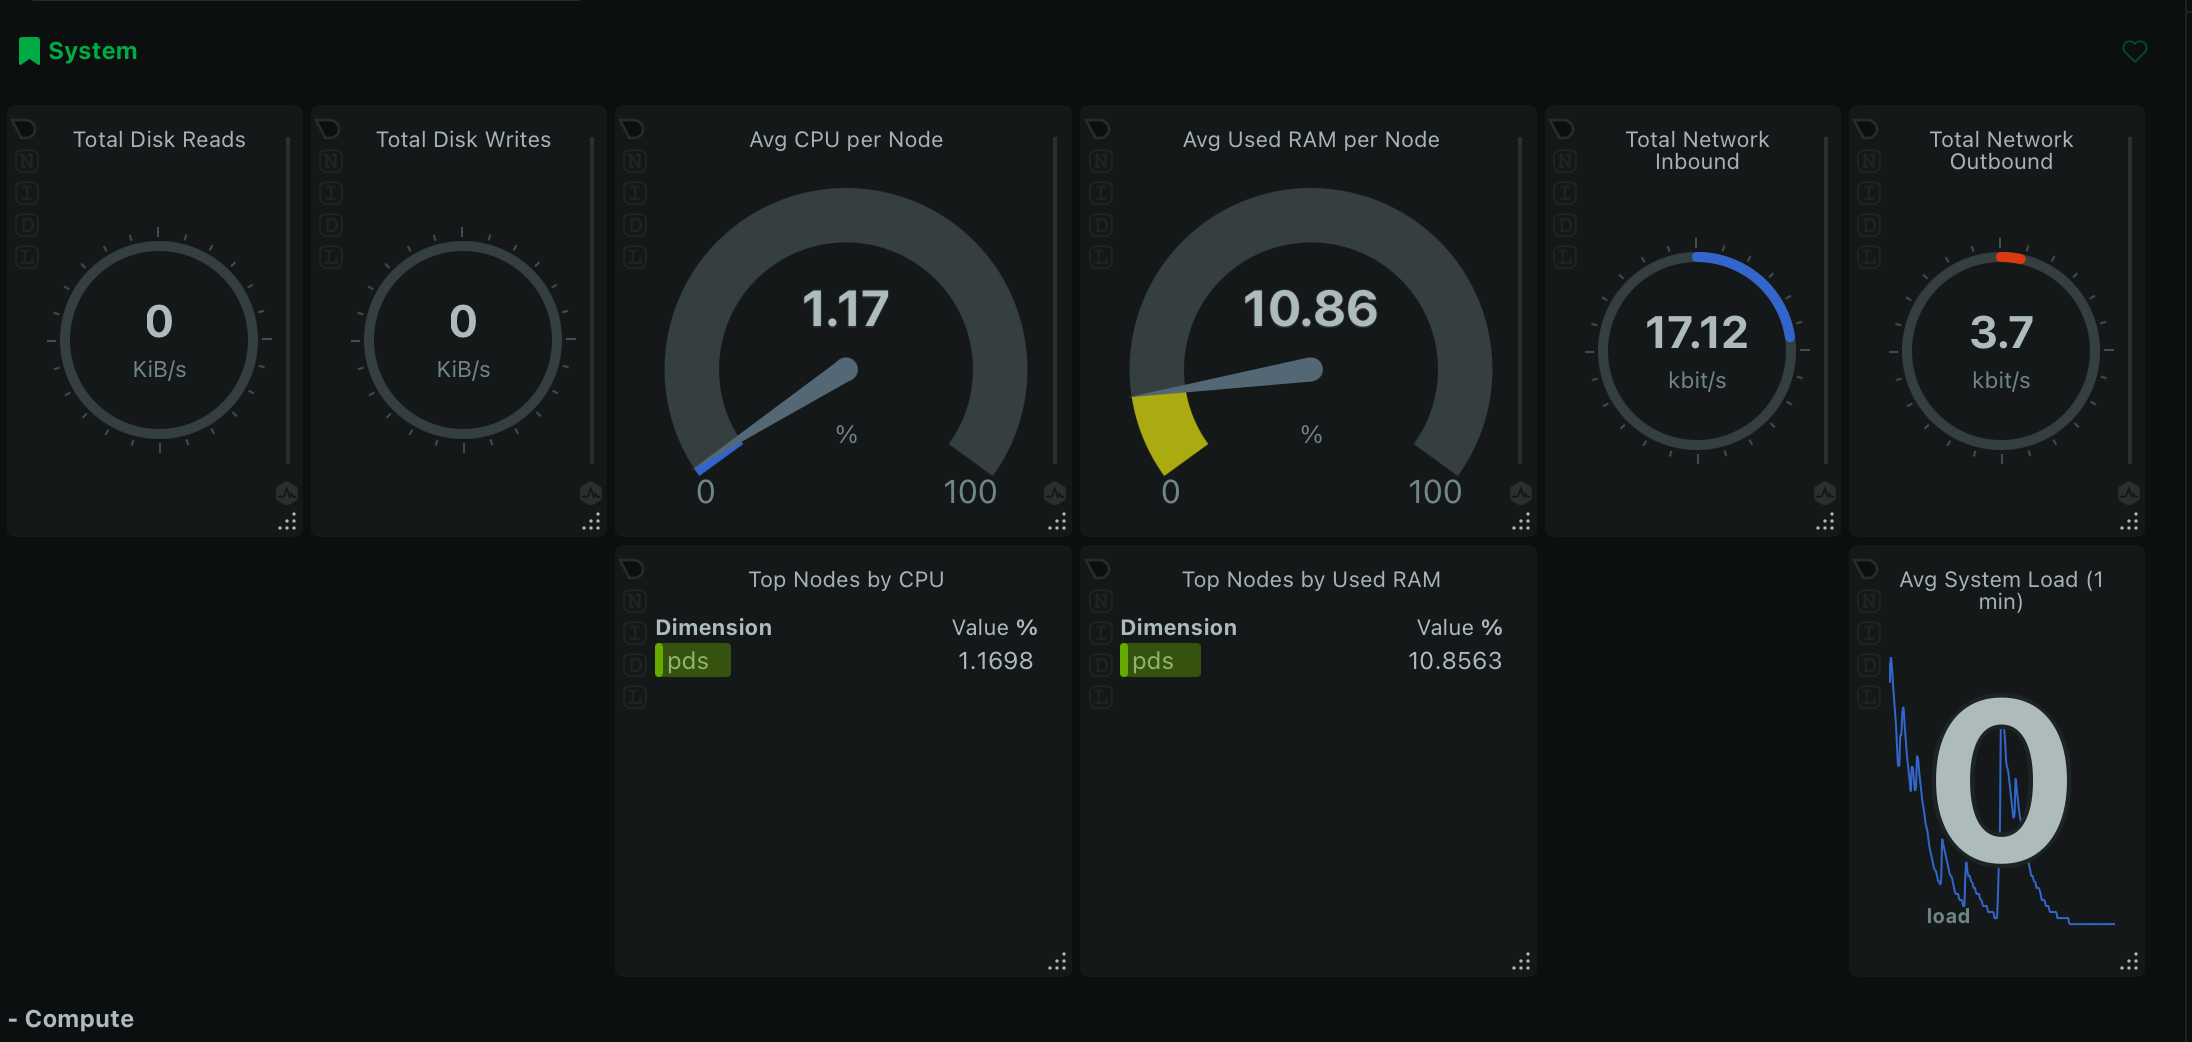
Monitoring up/down is good but monitoring what’s going on is also important. I’ve been using netdata for single host metrics for a long time.

It runs as a single container and has a web interface that you can use locally without needing to set up a bunch of storage or scraping infrastrucutre. Of course if the host is down that doesn’t help so I also have been using netdata.cloud which gives free, limited metrics of the host.
This is at least a first stop check for resource exhaustion (eg CPU, disk), but I honestly haven’t noticed anything in the couple weeks I’ve been running it.
Create your user
There’s a pdsadmin command that comes with the install script that helps with some common tasks like creating users, resetting passwords, and requesting the network to crawl your PDS.
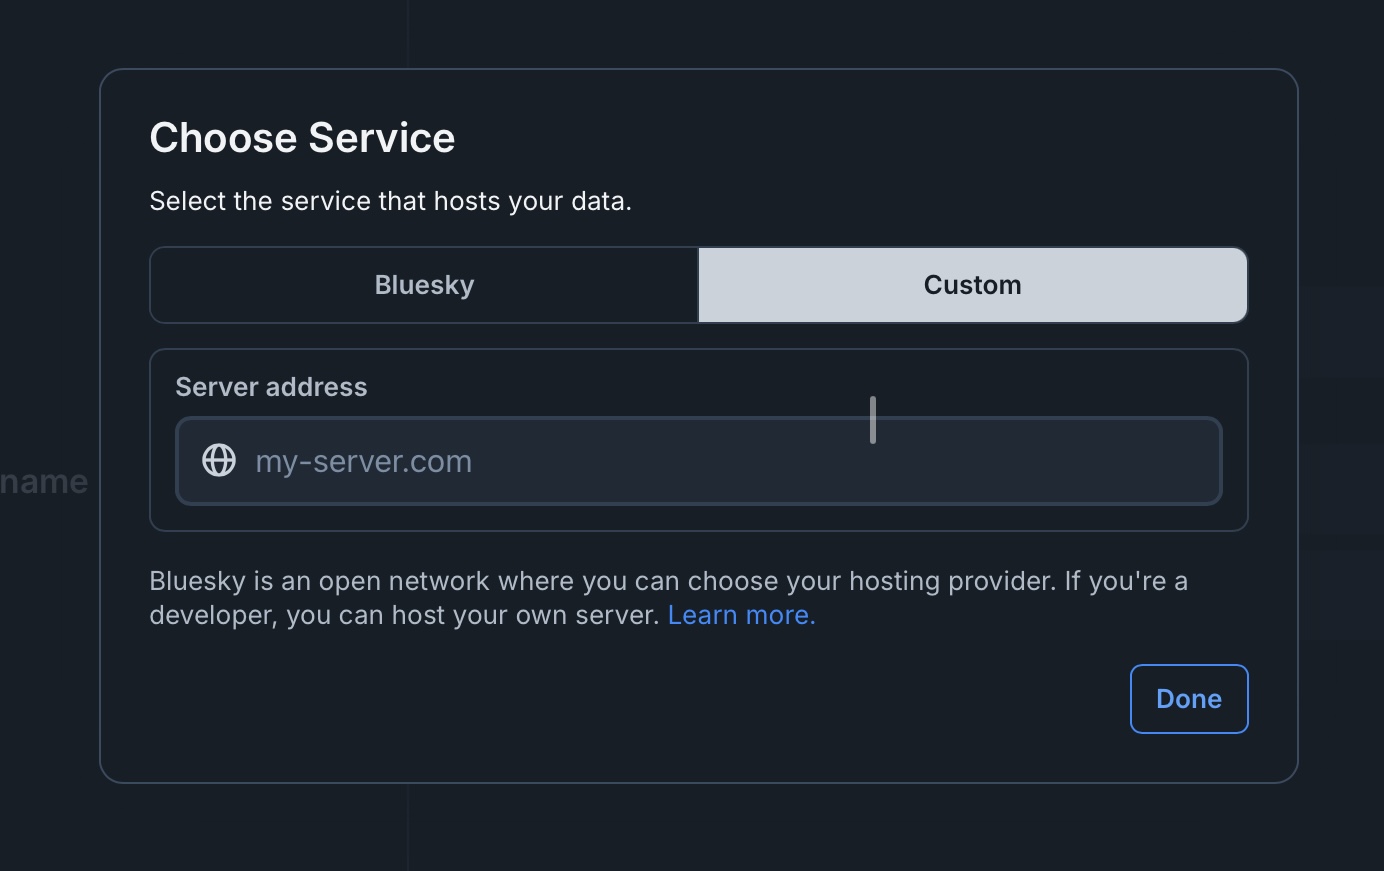
After your user has been created you can use the normal bsky.app to log in. At the log in prompt select “custom” for your hosting provider.
Put in your PDS hostname and the username and password printed in your terminal when you created a user.

Log in
Now that you have a PDS running you can validate your user with bsky-debug .
Make sure you set up a profile for your new user. Add a name and profile description otherwise your account won’t be searchable in Bluesky.
That’s it. Enjoy your data on your network. Make sure you do it responsibly.
