Wordpress in Docker on a Raspberry Pi
Posted on September 7, 2016 • 6 minutes • 1179 words
Docker has been available on the Raspberry Pi for a while but 1.12 makes installation much easier. So I figured it was time to stop paying for a shared server and use my own hardware.
Note: Running Wordpress on a Raspberry Pi is not a good idea for a high traffic website. I am using it to run 3 sites with < 500 page views per month combined. YMMV
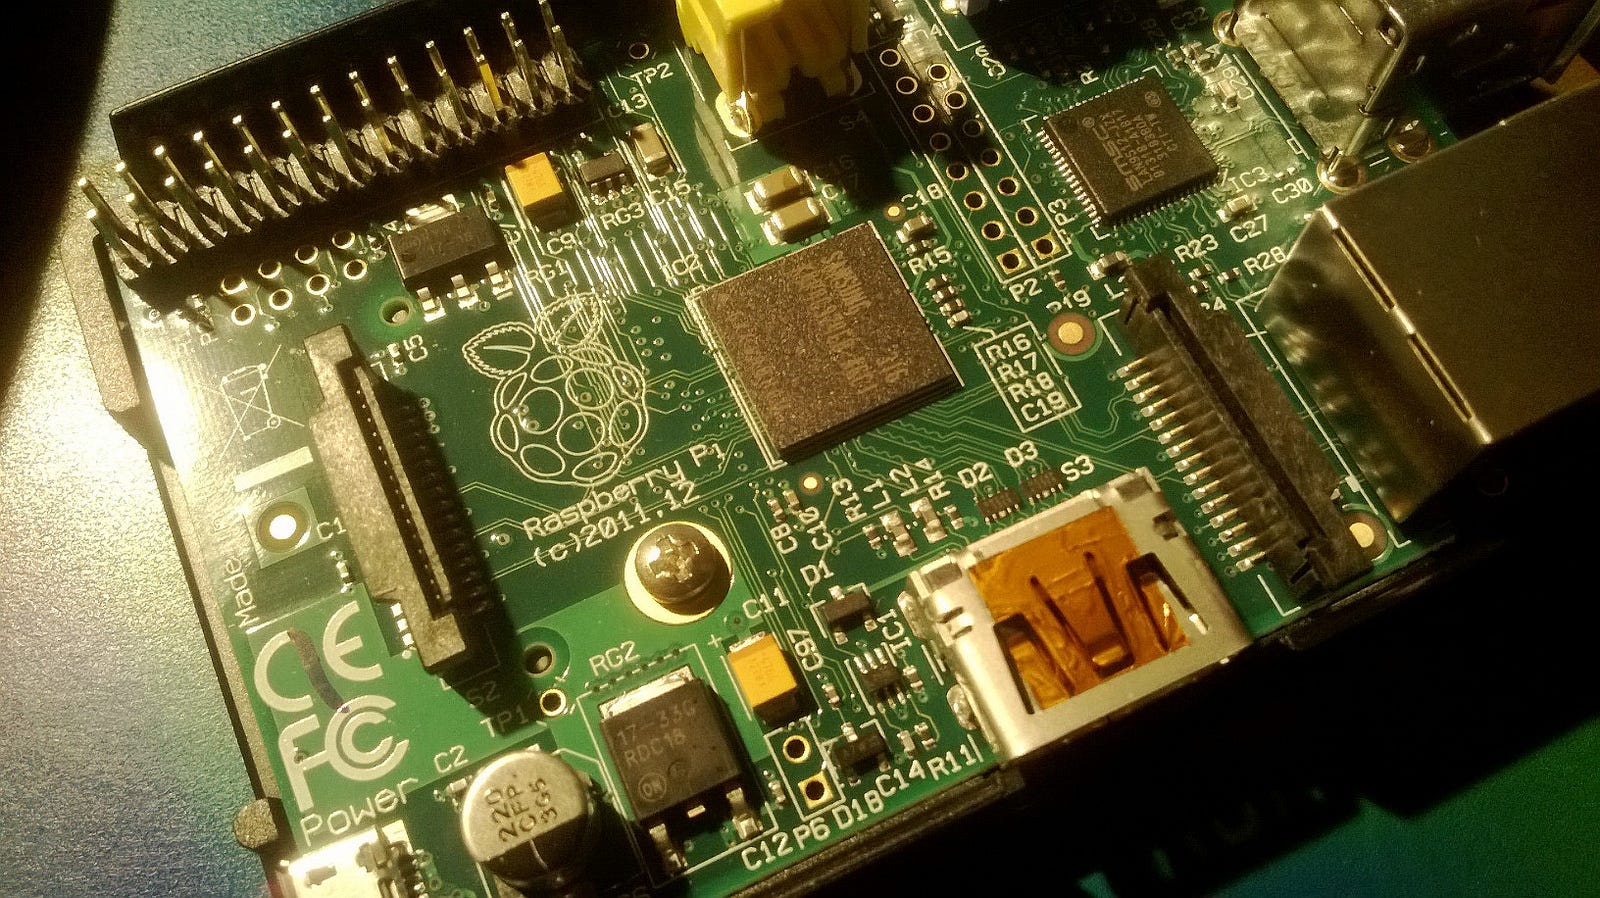
First step is to install Docker on your Raspberry Pi . A pi model 3 will work better for this but I’ve been running on a 2b and it seems to be working OK.
curl -sSL get.docker.com | sh
Next add the Hypriot repository to install docker-compose.
curl -shttps://packagecloud.io/install/repositories/Hypriot/Schatzkiste/script.deb.sh | sudo bash
Now install docker-compose and git with
sudo apt-get install git docker-compose
Next, ssh onto your Raspberry Pi and clone my git repository.
git clone https://github.com/rothgar/rpi-wordpress
Once you have the repository cloned, edit the docker-compose.yml file and change all of the environment variables for the MySQL container. These values will need to match what is in your wp-config.php file in a few steps.
I provided the Dockerfiles for my caddy, mysql, and php containers inside the repo. You are encouraged to build them yourself by commenting the build: lines but I also uploaded pre-built images to Docker hub so you can get started without building them yourself.
The pre-built containers used are:
- rothgar/rpi-caddy:0.9.1 - Web server frontend
- rothgar/rpi-php:5.6 - PHP engine
- rothgar/rpi-mysql:5.5 - MySQL database
- (optional) rothgar/rpi-inadyn:1.99.15 - Dynamic DNS updating container
The containers are based on resin/rpi-rasbian , the main tweaks I did were:
- I’m using caddy for the front end web server because it’s very light weight (and awesome).
- On the MySQL container I updated parts of the init script from hypriot’s rpi-mysql image to reflect the official MySQL container because I wanted the ability to import a .sql backup file at startup. It also uses the default “small” MySQL config.
Download the latest version of Wordpress into the .data/wp/www folder with:
curl -sL http://wordpress.org/latest.tar.gz | tar --strip 1 -xz -C .data/wp/www
If you have an existing Wordpress installation you can use your existing files. First rsync your files from your server
rsync -avr $YOUR_SERVER:$wordpress_directory .data/wp/www
Backup your your database with mysqldump and put the .sql file in .data/backup
mysqldump --databases wordpress > backup.sql
scp DB_SERVER:backup.sql .data/backup/
Inside your .data/wp/www folder change your wp-config.php file so DB_HOST is ‘mysql’
Make sure you change the MySQL container environment variable values in docker-compose.yml to match your wp-config.php file. If you need help please refer to the Wordpress documentation on editing wp-config.php . With a new installation you will need to copy the wp-config-sample file before editing the variables
cp .data/wp/www/wp-config-sample.php .data/wp/www/wp-config.php
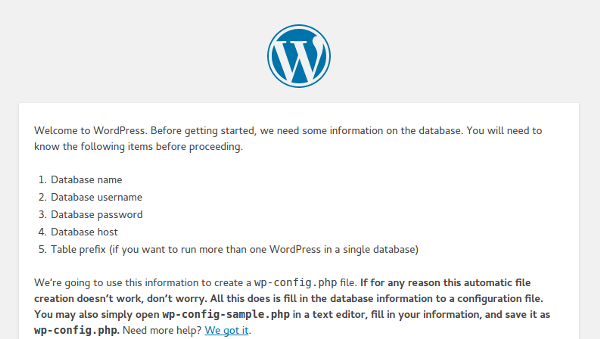
If the Wordpress blog is having trouble connecting to the database server you will see the screenshot below. It will walk you through creating a wp-config.php file. If this is a new site, make sure you also generate the necessary security keys and put them in the config file.
If you want to make changes to the Caddyfile (such as add TLS) you can edit the .data/wp/Caddyfile. This directory will be mounted into the running container so you can edit it if you need to make changes. Remember to reload caddy if you make changes with:
sudo docker-compose exec caddy /bin/bash -c 'kill -SIGURS1 $(pidof caddy)'
Save the docker-compose.yml and then run
sudo docker-compose up
This will start the containers in the foreground so you can see all the logs. I would recommend using tmux so you can open a new shell. MySQL should start first as a dependency and will import any .sql files in the .data/backup folder (if you had a backup). It will then proceed to make the database and user defined from the environment variables in the docker-compose.yml file.
After the containers have started, open a browser from your laptop and browse to your Raspberry Pi. Make sure you’re using the site url defined in the Caddyfile. You should get the the default Wordpress welcome page. Put in the same username, password, and database name you put as environment variables for the MySQL container. The Database host should be ‘mysql’
If you imported from an old installation hopefully you see your site. If you don’t your best bet is to double check your environment variables for the MySQL container and make sure they match your wp-config.php file. If that still doesn’t work you should get a shell on the MySQL container and check the databases and tables to make sure your backup .sql file was imported properly.
sudo docker-compose exec mysql bash
mysql -u "${MYSQL_USER}" -p"${MYSQL_PASSWORD}"mysql> show databases;
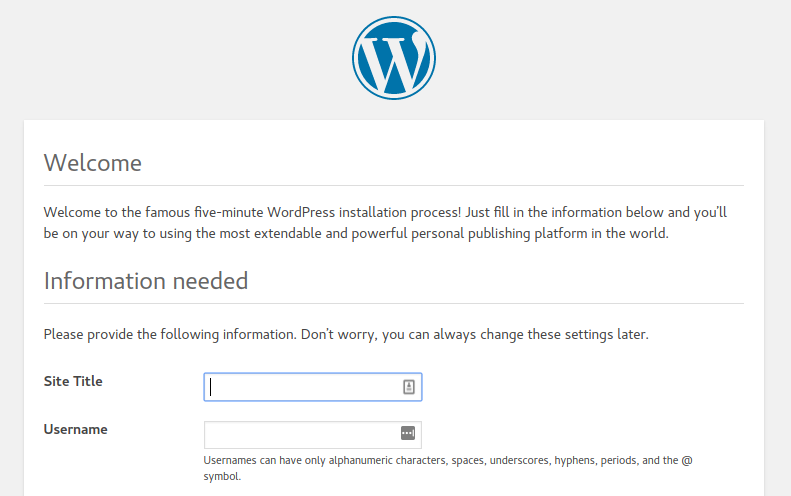
If Wordpress correctly connects to the mysql database then you should see the Wordpress welcome screen to name your site and create a user.
If you want to host your website from your home you’ll need to set up dynamic DNS linked to a custom domain you own or a free domain from services like nsupdate.info . There are lots of different options for dynamic DNS. For this I am using Google domains and a separate inadyn container I made for the Raspberry Pi. You can pull my container and put in your environment variables or if you router has DDNS options you can use its built in DDNS settings. Inadyn supports many different providers so it is up to you to decide which is best for you.
Once DDNS is updating you should also make sure you forwarded ports 80 and 443 to your Raspberry Pi from your router. This will make sure when someone browses to your public IP address they get the right endpoint. This is highly dependent on which router you have so you’ll need to search for the exact steps for your router.
With these containers and configuration you should have a Wordpress site running on your Raspberry Pi and dynamic DNS updates to host the site from your home. 🎉
If you want to publish multiple sites using the same caddy front end you can add a subdirectory in .data/wp/www2 and update the Caddyfile to add a new site using the www2 root directory. Just copy/paste the main site and change the website name and root. The reason you need to use the same caddy container is because it is using ports 80 and 443 on your Raspberry Pi and your router forwards those ports to this host. Caddy will route traffic to the correct directory based on requested hostname.
The MySQL container doesn’t have an automatic way to restore or create multiple databases. Instead you can run multiple MySQL containers and link them to the php container. Make sure you pick different linked hostnames for the containers (e.g. mysql2) Change the names of the services in docker-compose.yml and update your wp-config.php files to use he right database host. There is a multi-site.example.yaml file in the repo you can look at for reference.
If you don’t want to use Wordpress at all I suggest you also check out
Alex Ellis ’s post on using Ghost on a Raspberry Pi .