How to Automatically Cool Your Entertainment Center When It Gets too Hot
Posted on September 19, 2011 • 5 minutes • 1009 words
Keeping your home stereo in a cabinet helps with noise and protects your equipment from pets and kids. Game consoles, receivers, and STBs don’t work well in saunas; so here’s how to keep your entertainment center cool automatically.
Heat is one of the quickest ways you can kill electronics. Most home theater equipment is designed to be cooled passively, but being enclosed in a cabinet does not allow for the proper amount of airflow. Weather you’re on your third RRoD Xbox 360 or your PS3 is getting too loud, keeping your home theater gear cooled ensures long life and quiet operation.
There are a couple of commercial products that can help with cooling but most of them are either too expensive or don’t turn on/off automatically.
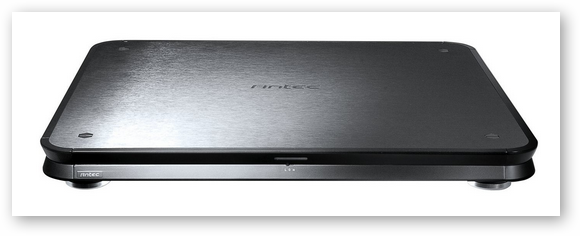
The Antec Veris has a neat design and functions well for one device, but at $70-$100 and having to manually turn it on/off doesn’t make it ideal for the lazy few of us who want to watch our movies in silence.
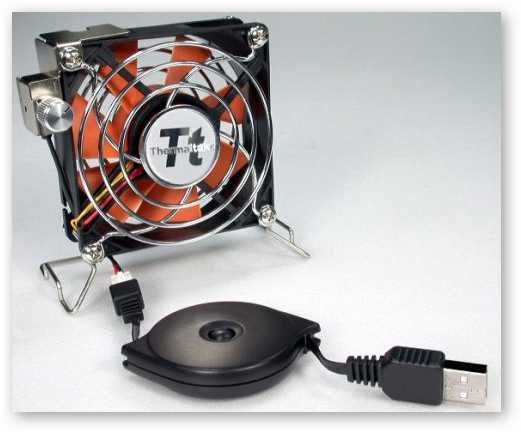
You can get something cheaper with the Thermaltake Mobile Fan II which only costs $12-$20 and has variable speeds. But it uses USB for power and unless you have a HTPC you may be short on USB ports in your cabinet.
A few companies make kits to easily mount fans in your cabinet but they usually cost $100+ and don’t typically come with an easy way to turn the system on or off.
So we decided to take matters into our own hands and show you the best automatically cooled home entertainment kit we could come up with. Let’s start with a video showing your how the system will work.
Equipment
Here’s what you will need to put together an awesome automated cooling system. All parts linked are just our recommendation, you can probably find alternatives other places on the network or use stuff you already have to save some money.
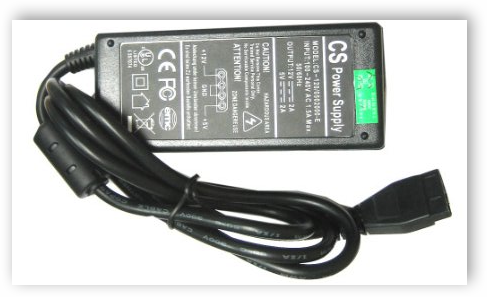
Power Supply : This is a simple 120v to 12v (molex) adapter that will get power to your fans.
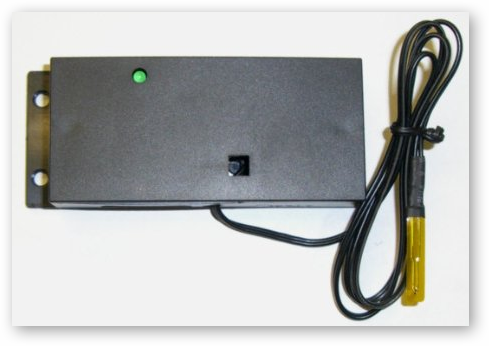
Thermal Fan Controller : This part is optional but it makes the whole kit automated. If you don’t get this part then you will need a molex fan connectors instead.
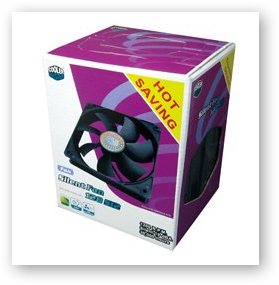
Fans : We recommend at least 120mm fans because you won’t be constrained by size limitations in your cabinet, and 120mm ensures maximum airflow while keeping the system quiet.
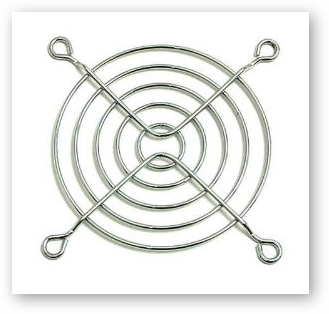
Fan Covers : Depending on how you are mounting your fans, you may want covers to protect wires and fingers from touching the fans.
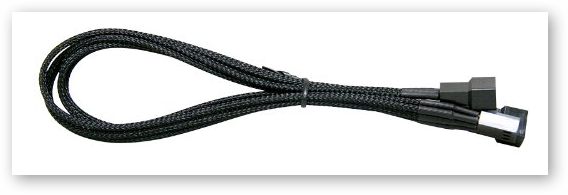
3 pin Y connector : If you are going to use 4 fans you will need a y connector to be able to power them all.
The whole kit cost about $65 after shipping, but it should be enough to cool two small cabinets or one large cabinet.

If you want to mount your fans to the cabinet you can find some pretty nice pre-made plates for $20-$40 more.
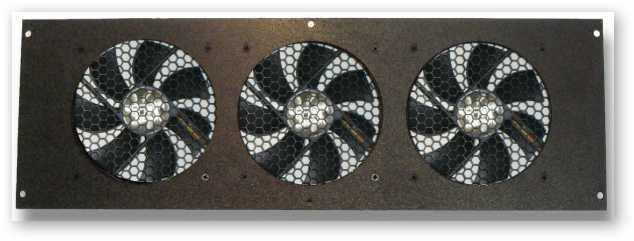
You will also need some of the following depending on how you will install your fans.
- Flashlight
- Zip-ties
- Available power outlet
- 2 Hangers + wire cutters (for free-standing fans)
Installation
Everyone’s setup will be different but just remember these basics for maximum cooling efficiency.
- Heat rises, so put your exhaust fans as high as possible in your cabinet to make your system efficient.
- Keep your intake fan lower in the cabinet to bring in the coolest air possible.
- Put your heat sensor where you expect there to be the most heat so your fans can turn on the moment there’s trouble.
- Keep loose wires away form the fans or use covers.
- Mount the fans securely or use stands so they don’t tip over.
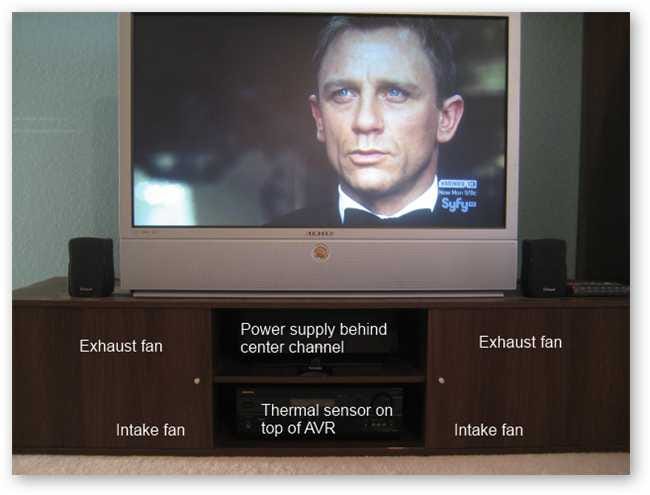
It’s a good idea to plan your your installation before ripping out all your equipment. Here is my home theater with a general layout for where the fans will go.
I’m not drilling holes in my new entertainment center so if you want the fans to be free standing here is a cheap way to add stands.
To give the fans some stability use a wire hanger (preferably one with rubber coating) and cut four 6″ straight pieces from the shoulders and bottom.
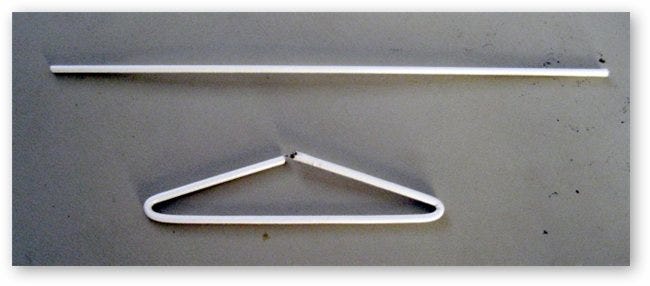
Use these pieces and fold them into small triangles to stick them in the mounting holes.
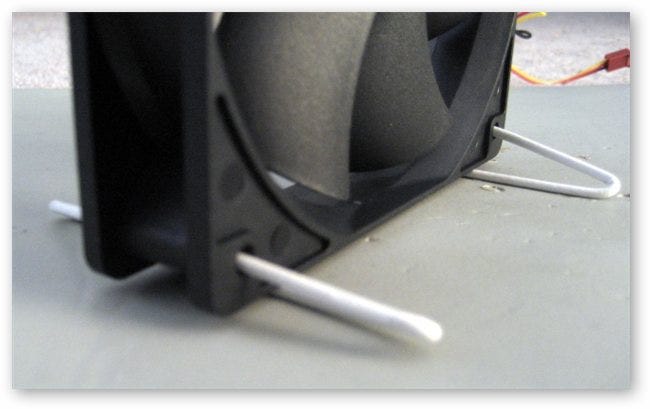
Hopefully you have discovered where to mount/place your fans, but before you drill any holes make sure your cables will all reach to the thermal control box and you have power avaiable.
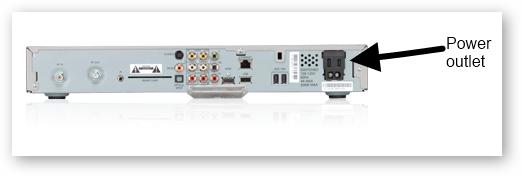
If you don’t have an available outlet you can plug your power adapter into the back of your receiver or cable box. Just make sure you change the setting in the box to turn the outlet on.
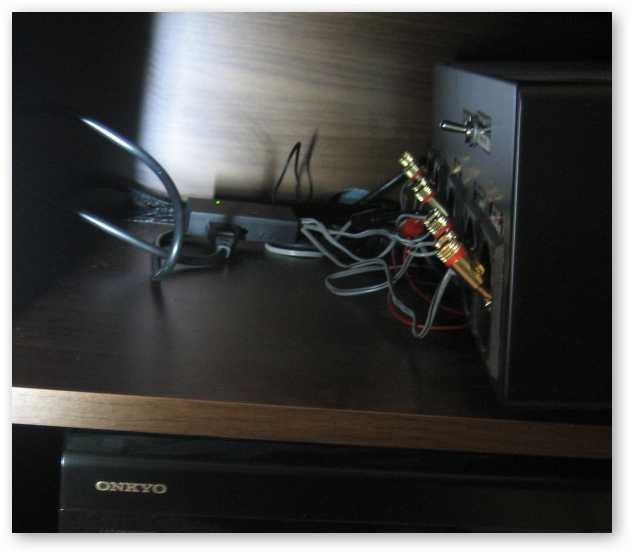
Plug in your thermal controller and run power to it. You should get a green light on top of the box when it has power. Mine is hiding behind my center channel because it allows it to be in the center of the cabinet so all the fans can plug in easily.
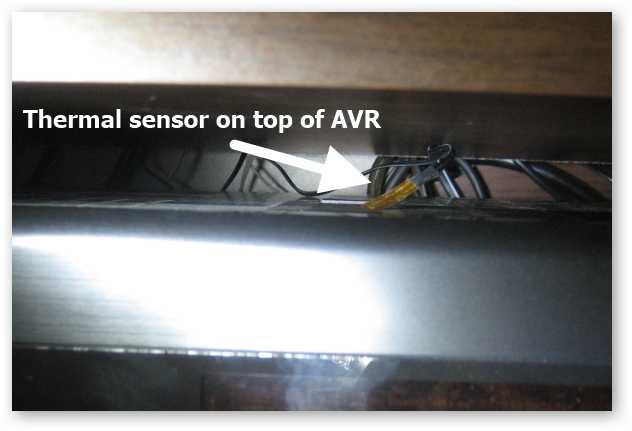
Next, put the heat sensor in the hottest spot of your entertainment center.
Now mount your fans or place them where you want them to be.
The front of my cabinet is closed but there is a gap behind and in front of the shelves. This means my intake pulls from behind on the bottom and exhausts out the opening in the back. Having both fans push air in the same direction will greatly help the flow of air through the system.
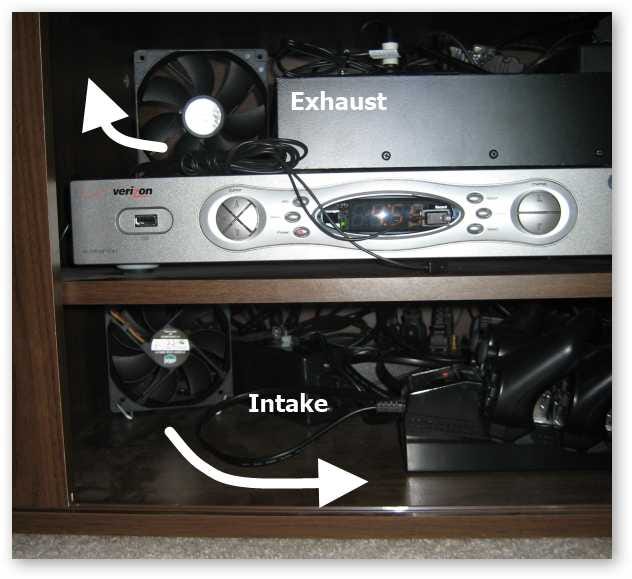
The other side is about the same, the intake fan is on the bottom sucking in air from the back and pushing it toward the gap in front of the shelf.
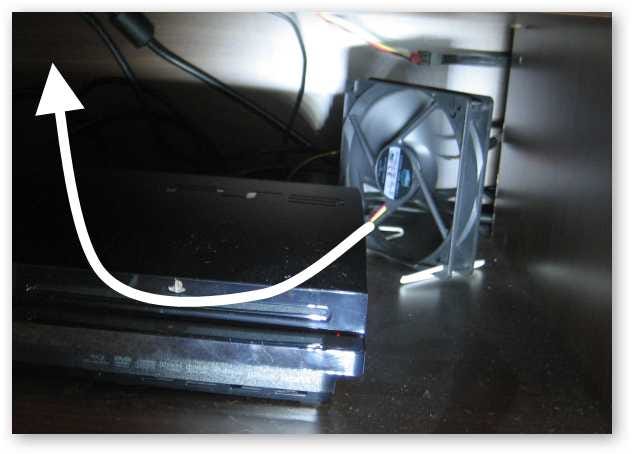
Once everything is in place, plug in the system and make sure you don’t have any interference and air is flowing in the proper direction.
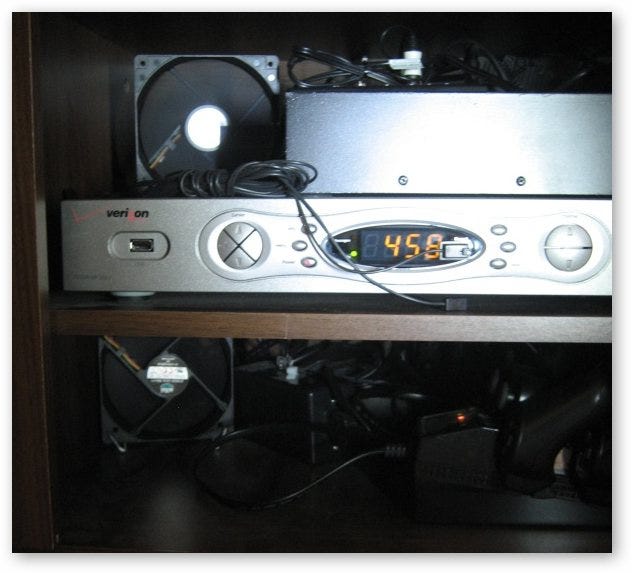
You can help the system by exhausting air directly outside of the cabinet, but that will force you to cut holes. Having at least a decent amount of air movement should help keep your equipment running longer and quieter.
