How To Make Windows Home Server into a Domain Controller
Posted on April 4, 2011 • 7 minutes • 1398 words
Active Directory lets companies manage users, computers, printers, and more from a centralized location. Have you wanted this functionality at home but don’t have money for Windows Server? Here’s how you can promote Windows Home Server to a domain controller.
Maybe you don’t have 100+ computers in your closet but sometimes it may feel that way. Active Directory allows you to centrally manage the users that can log into the machines as well as help quickly set up machine preferences and can even help manage your virtual machines. If you have been wanting a better way to manage it all, or even just want to dive into Active Directory here’s how you can do it on the cheap.
Please be aware that Microsoft specifically says you are not allowed to do this according to their end user license agreement (EULA) that you have to agree to when installing or setting up a Windows Home Server. As such, this article will be strictly for educational purposes.

If you are allergic to breaking EULAs I suggest you purchase Windows Server from Microsoft. Select students on the other hand can freely download Windows Server from Microsoft DreamSpark .
Set Up Windows Home Server
After your initial setup of Windows Home Server you will need to turn on remote desktop abilities from the Windows Home Server console. If you are reading this article I am going to assume you know how to do that yourself.
You will also need a couple of dedicated disks or partitions for storing Active Directory information. Active directory uses the folders NTDS and SYSVOL to store its database and public files and if they are not on dedicated disks you most likely see slowdown with your server and with your network.
Active Directory requires that you have DNS and a static IP address on your server. You don’t have to do these two steps right now, but you will need to be prepared to do them during the process.
Promoting your WHS to a domain controller is going to do a few things that you may not want. Please read the below precautions before continuing.
- You will no longer be able to add computers to WHS with the WHS connector. From now on you will have to join computers to your new domain that you will set up. In order to be able to add computers to a domain you cannot use any of the “home” variants of Windows and instead will need to use the business, professional, or enterprise tiers.
- All of your users in WHS will be erased and only the default user accounts (e.g. administrator, guest, etc.) will be left in WHS.
- Your WHS webpage will be broken. You can “fix” this by installing another web server (e.g. Apache) but it will take more setup and work.
All in all, be prepared to do a fresh install on your WHS and do not do this on a machine you are actively keeping information on. It would probably be a better idea to have a second computer to set up AD and migrate any information over that you want.
Always have backups, if this is a computer you use it is your responsibility to make a backup before you start this process.
Promote Your Server
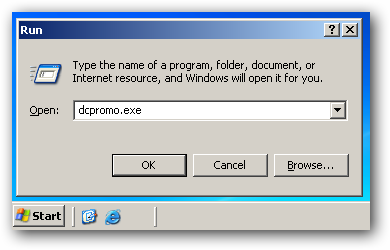
Domain controller promotion is done through the dcpromo.exe command. Go remote with your server and then open the run dialog and run the command.
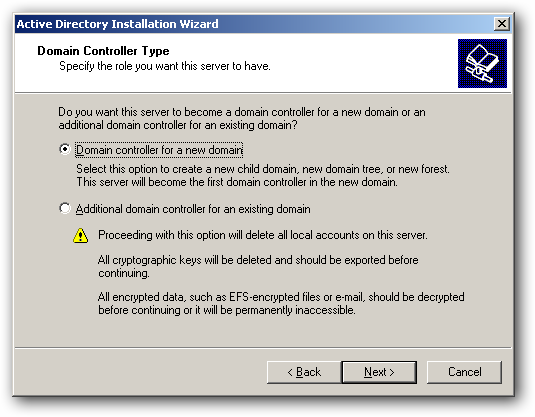
Click next a couple times and then select the option to create a new controller for a new domain.
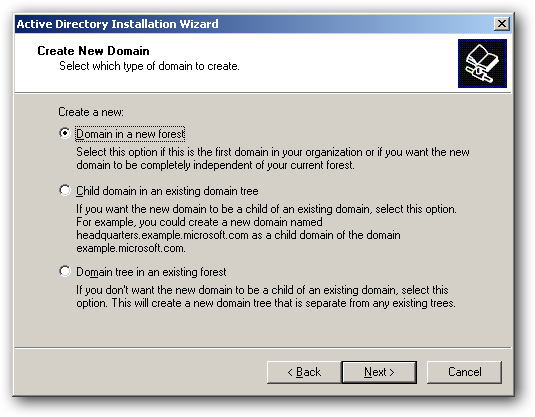
Then select new domain forest.
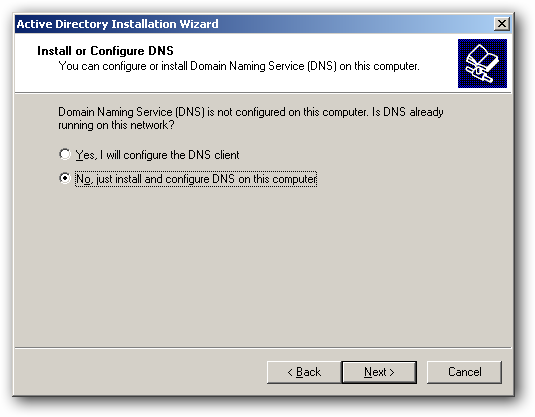
Next it is best to select to set up DNS on the local machine. This is the easiest way to get the controller configured. You will just have to make sure you turn off DNS on your router.
If you are going to keep DHCP issued from your router you will also need to point DNS responsibilities to your server. Please check your router manual for how to do that.
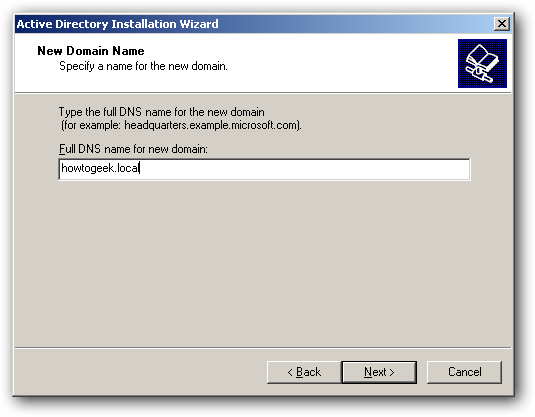
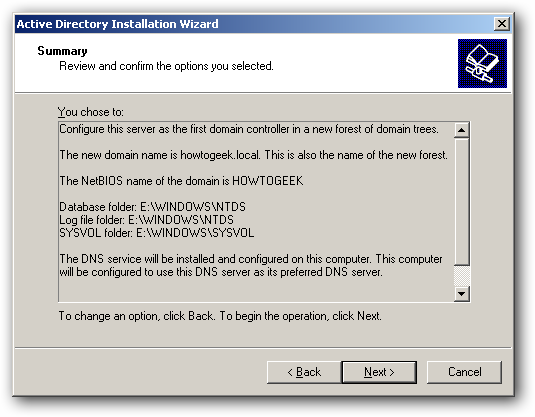
Finally we can name the new domain. If you own a web domain name don’t name it the same thing as your domain name because in this case it may cause problems unless you are also running the web service and dynamic DNS updater from this computer.
Instead it is a better idea to come up with a .local name for your domain.
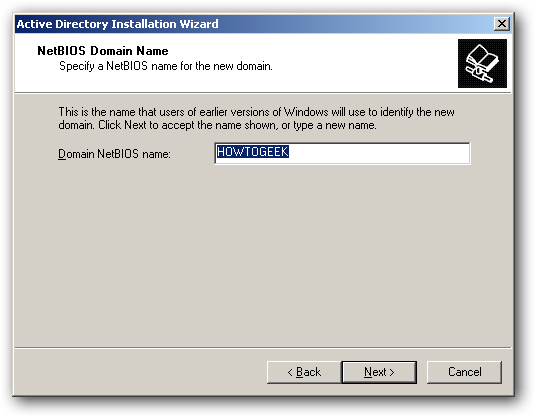
Next you will need to put in a NETBIOS name. You should be able to select the default and just click next.
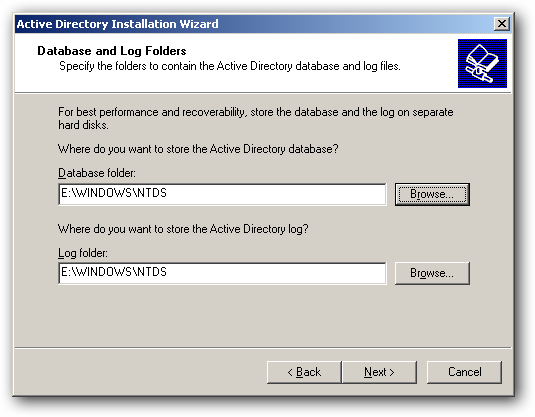
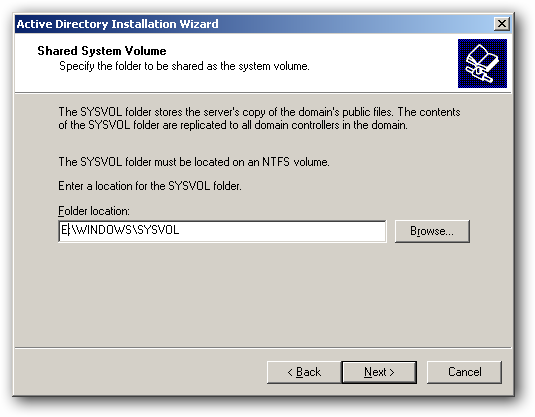
We need to tell the domain controller where to store the database, log files, and public files. It is recommended to store all of this on a separate hard drive. In my installation I have a separate 20 Gb hard drive plugged in (E:) where I have put the required files.
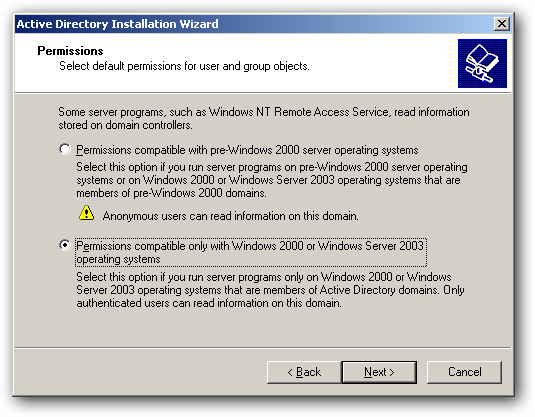
If you have any pre-Windows 2000 computers I feel bad for you. In most cases you can leave out support for anything that old in the next step.
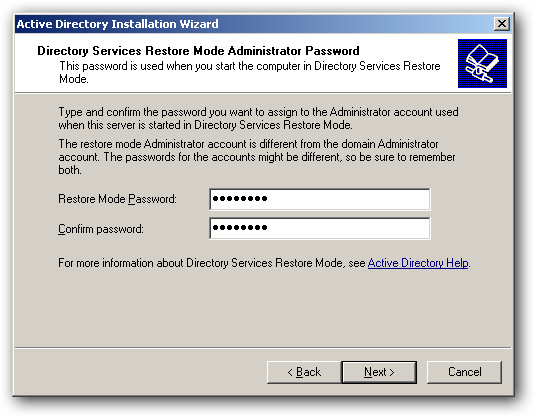
Select a new Administrator password.
And then review your changes and click next.
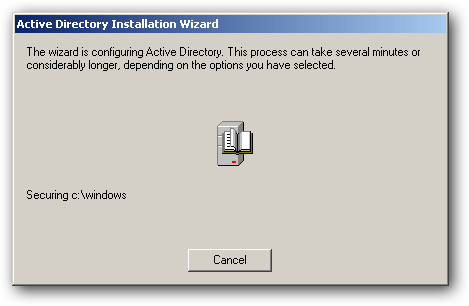
Your promotion will start the process for you.
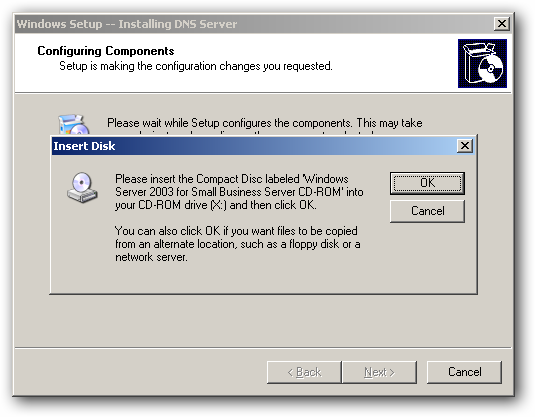
You will probably be asked for your installation CD at some point so make sure you have your CD (or the files from your CD) available to you.
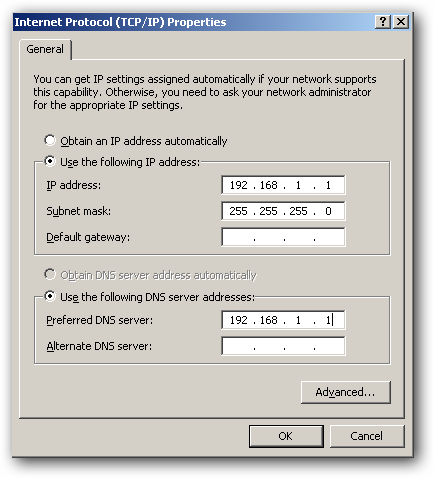
You will also probably be prompted to change your IP address from dynamic to static during the process.

Click OK and then continue to change your IP address to a suitable static address.
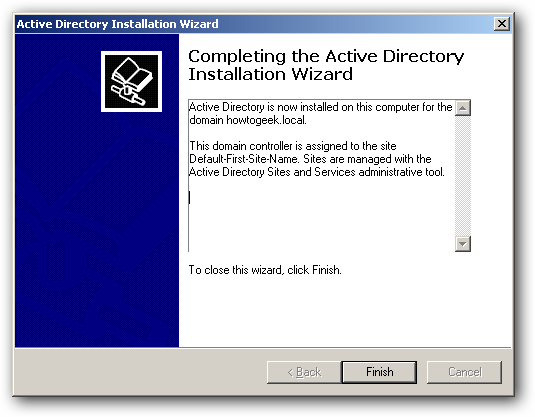
Your setup should finish with this screen. Once you click finish go ahead and restart your new domain controller.
Don’t worry if the reboot takes a while. It needs to start up a lot new services and will probably take a while for the first reboot.
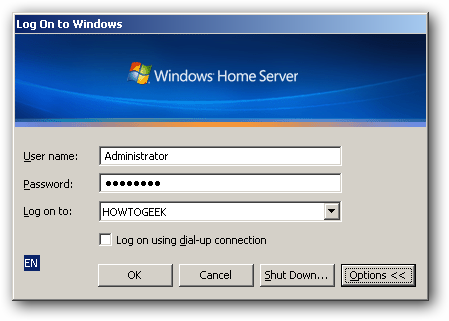
Once the machine reboots you may get an error about a service failing to start. You should also have a new option at your login screen to log into the new domain you just created.
Post Installation Settings
Now that you have a domain and a domain controller there are just a couple of things we need to do to make sure things run smoothly.
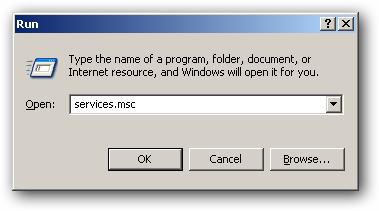
First we can fix the services error we got before by going to start -> run -> “services.msc”
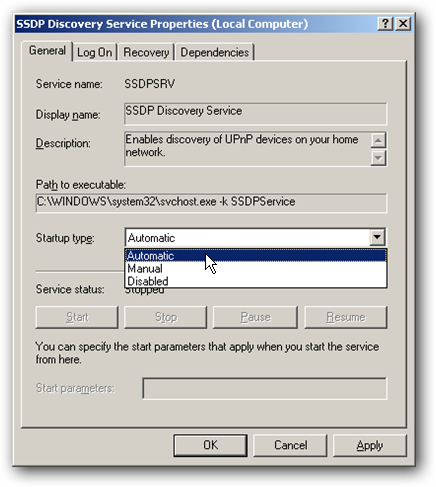
Find the “SSDP Discovery Service” and the “Universal Plug and Play Device Host” services and set them to start automatically. Then start the services manually.
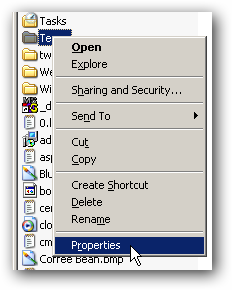
Now browse to C:\Windows\Temp. Right click on the folders and choose properties.
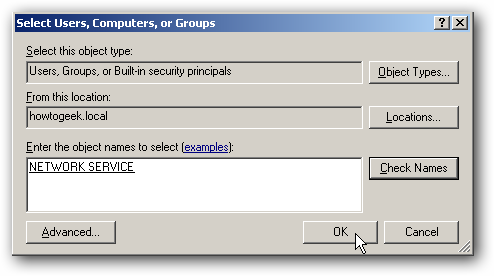
On the security tab click add and then type network service and click check names. Once the name is verified (it will be underlined) click OK.
Repeat the above two steps for the c:\Windows\Microsoft.NET\Framework\v2.0.50727\Temporary ASP.NET Files directory too.
Now we need to configure the Windows Firewall to allow for the correct programs to get through. You could just disable the firewall but you will take a performance hit by just disabling it. Here are the ports and programs you will need to allow access through your firewall.
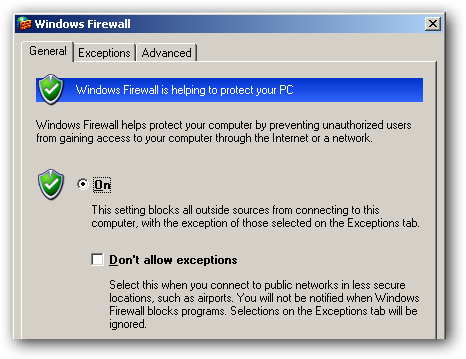
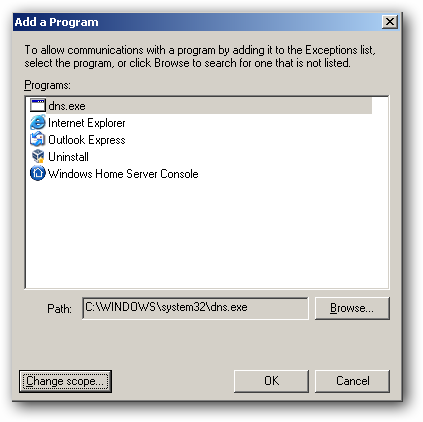
To add a program exception click on the exceptions tab and then click add program. Browse to the dns.exe located in the c:\windows\system32 folder and then click change scope.
Change the scope to only be on your local subnet because you don’t want anyone outside of your network using your DNS for lookups.
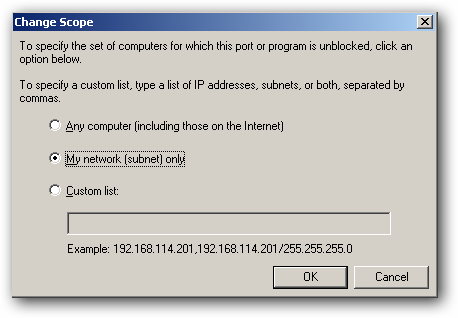
Next do the same thing for the DHCP server located at C:\WINDOWS\system32\tcpsvcs.exe but don’t limit the scope. Instead allow any computer to connect to DHCP otherwise the computers will never get an IP address after we turn that on.
We won’t set up DHCP in this article but may revisit this in the future. If you want to know how to set up DHCP check out the we got served link at the end of this post.
Go back to the main exceptions tab and then click add port. Type in LDAP for the name and 389 for the port number. Change the scope to my network (subnet) only and then click OK.
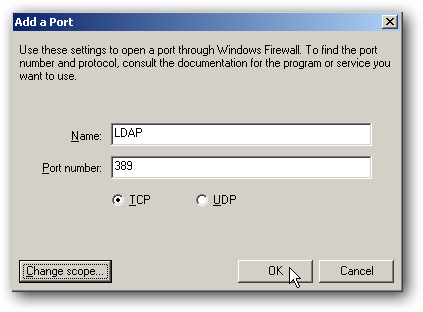
Repeat these steps for the following additional ports.
LDAP – 389 – UDP
LDAP – 636 – TCP
LDAP – 3268 – TCP
Kerboros – 88 – TCP and UDP
You now have Active Directory all set up and the necessary ports required to join computers to your new domain and begin managing users, computers, printers, and much more from a central location.
